 how-to
Custom Sunroom Installation: A Milton Homeowner's Guide
Table of Contents
- Why Custom Sunroom Installation Adds Real Value to Your Home
- Understanding Your Sunroom Options: Three-Season vs. Four-Season
- Sunroom Installation Cost: What You Need to Budget
- Sunroom Installation Timeline: From Design to Completion
- Week 1-2: Design and Site Assessment
- Week 3-6: Permitting and Material Ordering
- Week 7-9: Site Preparation and Foundation Work
- Week 10-12: Framing, Glazing, and Roof Installation
- Week 13-15: HVAC, Electrical, and Interior Preparation
- Week 16-18: Finishing and Final Inspection
- Factors That Can Extend Your Timeline
- Sunroom Installation Checklist: Step-by-Step Planning
- Sunroom Contractor Questions to Ask Before You Hire
- Permits, Zoning, and HOA Approvals for Your Sunroom
- Repurposing Your Existing Deck or Porch
- Frequently Asked Questions
Last Updated: October 11, 2026
Why Custom Sunroom Installation Adds Real Value to Your Home
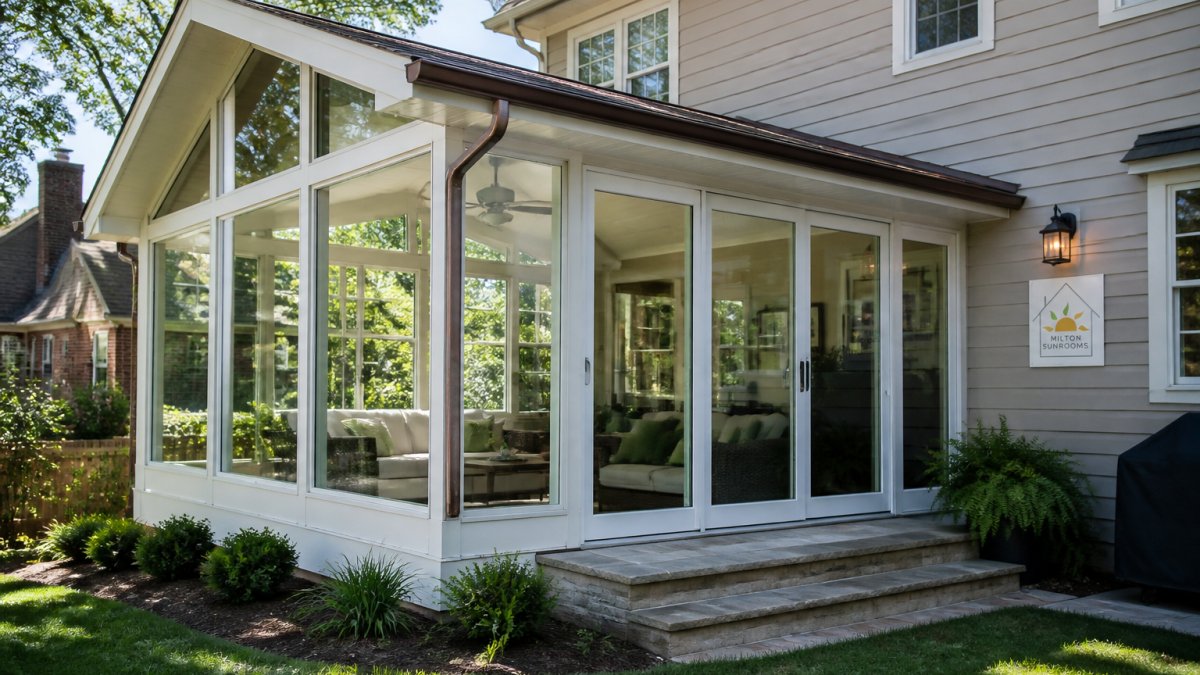
A custom sunroom installation transforms how you live outdoors. At Milton Sunrooms, we've helped hundreds of homeowners across north Fulton County create beautiful, functional spaces that extend their living areas year-round. A properly built custom sunroom installation lets you use the space 12 months a year, not a luxury, but a fundamental shift in how your home functions.
Homeowners gain a usable outdoor living space that works in any season, protects against weather and insects, and increases home value, perfect for morning coffee with natural light, afternoon reading without bugs, or evening entertaining.
Understanding Your Sunroom Options: Three-Season vs. Four-Season
The choice between a three-season sunroom and a four-season sunroom determines what you'll use your space for and how much you'll spend.
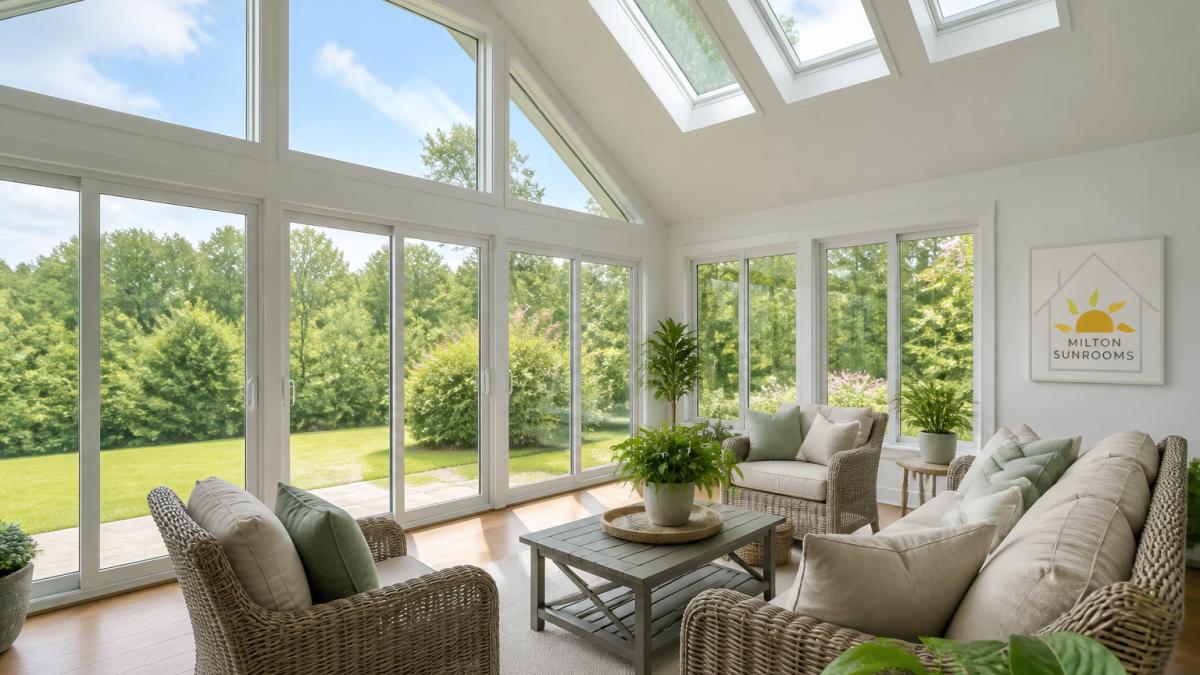
Three-Season Sunrooms: Budget-Friendly Outdoor Living
A three-season sunroom works from spring through fall, using standard windows and basic ventilation to keep out rain, wind, and insects. They're ideal for families who want to extend their outdoor entertaining season without investing in heating and cooling systems.
You won't use the space during winter, but for homeowners comfortable with seasonal closure, this option delivers excellent value.
Four-Season Sunrooms: Year-Round Climate Control
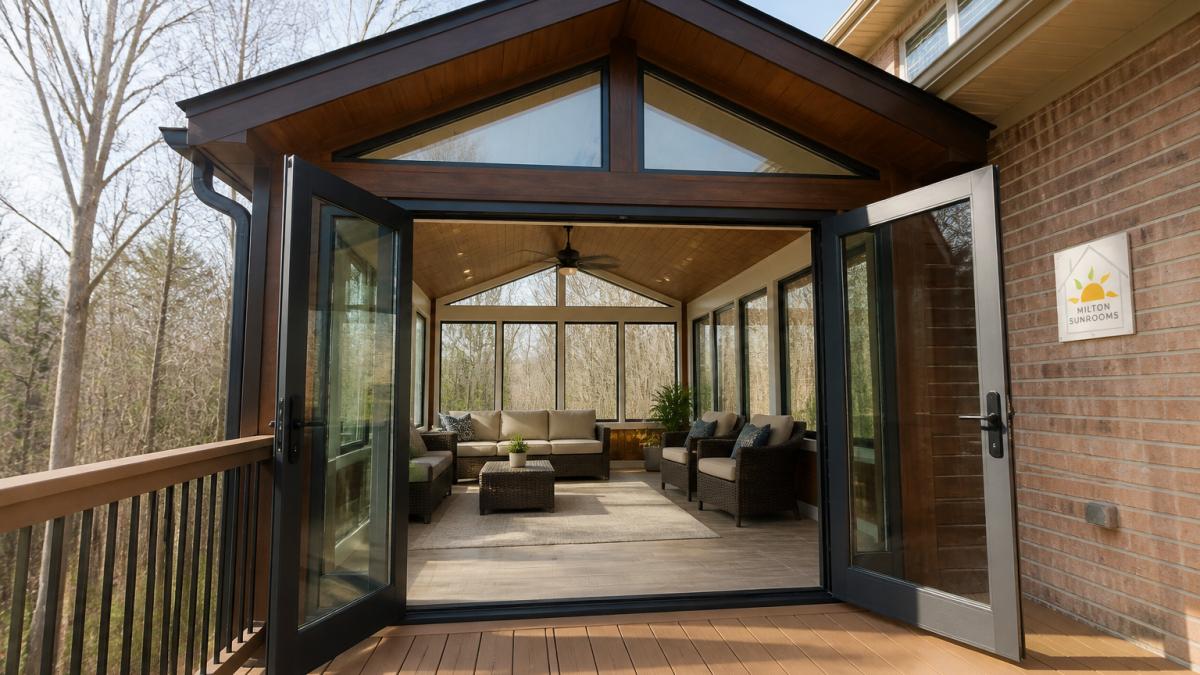
A four-season sunroom operates as a fully conditioned room with insulated glass, HVAC connections, and temperature control like any interior room. They cost more to build but deliver year-round functionality and significant resale value. A well-built four-season custom sunroom installation functions like any other room in the home.
Sunroom Installation Cost: What You Need to Budget
Sunroom installation cost varies based on size, materials, and climate control. Footprint is the biggest driver: a 200-square-foot addition costs less than a 400-square-foot one. Material selection also impacts cost, standard windows cost less than high-performance glazing, and roof options range from polycarbonate panels to insulated glass systems.
Climate control adds substantial cost: a three-season sunroom with no HVAC costs less than a four-season installation with full heating and cooling. Site conditions also matter, an existing deck costs less than a site requiring new foundation work.
A real sunroom installation estimate requires a site visit and detailed specifications. A professional contractor will visit your property, assess the site, discuss your goals, and provide a detailed estimate including materials, labor, permits, and timeline. When comparing estimates, verify that contractors are quoting the same scope.
Sunroom Installation Timeline: From Design to Completion
Most custom sunroom installation projects take 6 to 10 weeks from design approval to completion, accounting for design, permitting, material ordering, and construction. Weather and permit delays can extend this timeline.
Week 1-2: Design and Site Assessment
Your contractor measures your space, evaluates soil and foundation conditions, checks roof access, and locates utilities. Clear the proposed site and have your HOA covenants and neighborhood design guidelines available for review.
Week 3-6: Permitting and Material Ordering
Your contractor submits building permit applications to the local building department (typically 2 to 4 weeks review). Once approved, the contractor orders materials. Finalize design decisions early so material orders aren't delayed.
Week 7-9: Site Preparation and Foundation Work
Construction begins with site preparation. If building on an existing deck, the contractor assesses structural integrity and makes repairs. If building on ground, they excavate and pour concrete footings or a slab. Protect outdoor furniture and arrange for pets to stay away from the site.
Week 10-12: Framing, Glazing, and Roof Installation
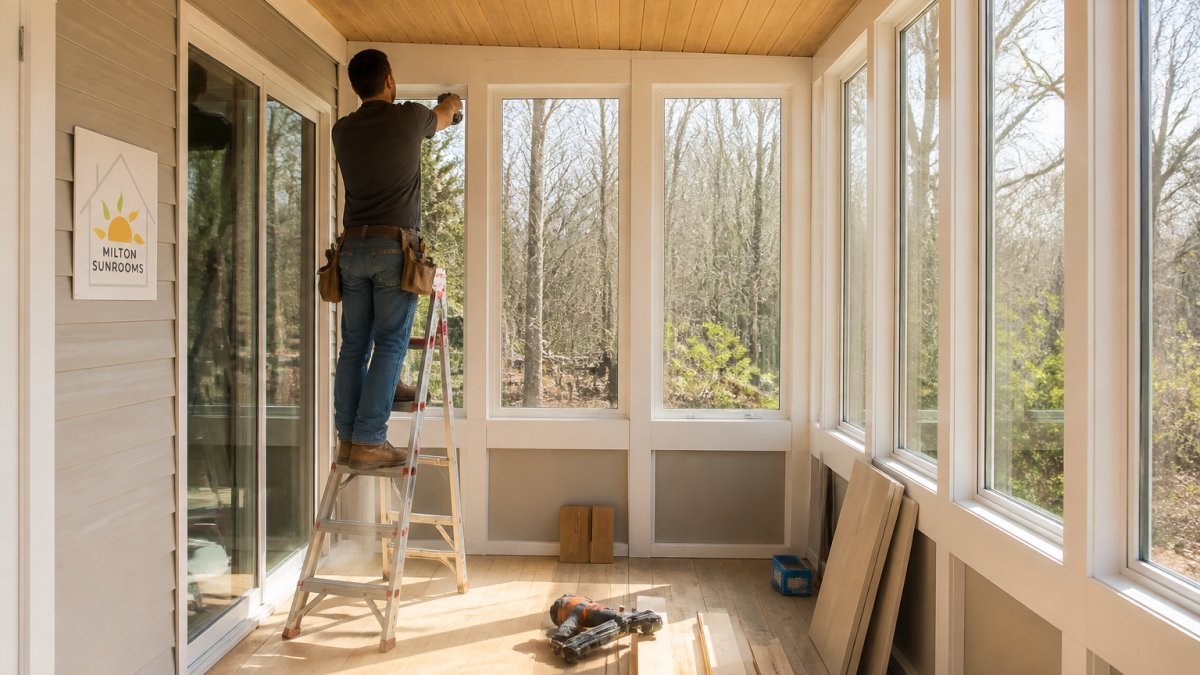
Once the foundation is set, framing begins. The contractor erects the frame, installs the roof system, and installs windows and glazing. Schedule a mid-phase walkthrough to inspect framing and roof installation.
Week 13-15: HVAC, Electrical, and Interior Preparation
If building a four-season sunroom, HVAC connections happen during this phase. The contractor runs ductwork, installs vents or radiant heating, and connects to your existing system. Electrical work follows. Confirm your existing HVAC system can handle the additional load and budget for upgrades if needed.
Week 16-18: Finishing and Final Inspection
The final phase includes trim work, caulking, painting, flooring, and hardware installation. A final building inspection verifies that the work meets code. Schedule the final walkthrough with your contractor present to test windows, doors, and climate control. Request a copy of the final inspection report and warranties.
Factors That Can Extend Your Timeline
Permit delays: Permitting can take 6 to 8 weeks if revisions are requested. Submit complete applications and respond promptly.
Weather: Plan for 1 to 2 weeks of weather delays.
Material shortages: Confirm material availability before signing the contract.
Site complications: Unexpected foundation issues or utility conflicts can add 1 to 3 weeks.
Design changes: Finalize all decisions before framing begins.
Communicate regularly with your contractor. Weekly check-ins keep you informed and allow you to address issues before they become major delays.
Sunroom Installation Checklist: Step-by-Step Planning
Pre-Installation: Site Assessment and Permits
Before construction begins, your contractor conducts a site assessment and handles permitting. Building permits ensure the work meets code and protects your home value. If your neighborhood has HOA restrictions, review guidelines before committing to a design.
During Installation: What to Expect
Construction begins with site preparation and foundation work, followed by framing, windows, glazing, and HVAC connections (if applicable). Electrical work and finishing follow. Your contractor should maintain a clean site and protect your existing home.
Post-Installation: Final Walkthrough and Maintenance
A thorough final walkthrough ensures everything meets specifications. Check windows and doors for smooth operation, verify climate control, and confirm finishes are complete. Maintenance is straightforward: clean windows regularly, inspect caulking annually, and address issues promptly.
Sunroom Contractor Questions to Ask Before You Hire
Questions About Experience and References
Ask your contractor how long they've been building custom sunrooms. Request references from at least three recent projects and ask whether they finished on time, stayed within budget, and handled problems professionally. Ask to see a portfolio of completed projects in the Milton area.
Questions About Permits, Insurance, and Warranties
Confirm your contractor handles all permitting and verify insurance coverage (general liability and workers' compensation). Request proof of coverage before work begins. Ask about warranties: what is guaranteed, how long it lasts, and what happens if something fails.
Permits, Zoning, and HOA Approvals for Your Sunroom
Permits, zoning compliance, and HOA approvals are non-negotiable steps in any custom sunroom installation. Skipping these steps creates legal liability, complicates future home sales, and can force costly redesigns or removal of the structure.
Building Permits: Why They Matter
A building permit is formal approval that your project complies with building codes. A permitted sunroom has been inspected by a qualified building official who verifies the foundation, framing, electrical work, and weatherproofing are sound.
A permitted project protects your home's structural integrity and family safety. When selling, a buyer's lender will require proof that major additions were permitted and inspected. An unpermitted sunroom can delay or prevent a sale.
Zoning Requirements: Size, Setbacks, and Coverage Limits
Zoning regulations control lot coverage, setback requirements, height restrictions, and impervious surface limits. Before finalizing your design, ask your contractor to verify zoning compliance. If your project doesn't comply, you can redesign or apply for a variance. Compliance by design is preferable.
HOA Restrictions: Architectural Review and Approval
If your property is in an HOA, request a copy of architectural guidelines and design review process. Submit preliminary sketches for informal feedback before investing in a design. Once final, submit a formal architectural review request with detailed plans and materials samples. The HOA typically has 30 days to approve, request modifications, or deny. Get written approval before construction begins.
Your Approval Checklist: Step-by-Step
Step 1: Verify zoning compliance (Week 1-2) Request a zoning verification letter confirming your proposed sunroom complies with setback, coverage, and height limits.
Step 2: Get HOA approval (Week 1-3) Submit preliminary sketches to the HOA for informal feedback, then prepare a formal architectural review request with detailed plans and materials samples.
Step 3: Prepare permit application materials (Week 2-4) Work with your contractor to prepare detailed construction plans, including site plan, floor plan, elevation drawings, and roof plan.
Step 4: Submit permit application (Week 3-4) Your contractor submits the complete permit application and pays the permit fee (typically $200-$800).
Step 5: Obtain permit approval (Week 4-8) The building department reviews your application (typically 2-4 weeks). If revisions are requested, your contractor resubmits corrected plans.
Step 6: Schedule and pass inspections (Week 10-18) Your contractor coordinates foundation, framing, roof, electrical, and final inspections with the building department.
Common Permit Pitfalls to Avoid
Incomplete applications: Ensure all required drawings, specifications, and documentation are included before submission.
Structural engineer reports: Many jurisdictions require a structural engineer's report for additions over a certain size. Confirm this requirement early and budget for the engineer's fee ($300-$800).
HVAC system upgrades: If you're adding a four-season sunroom with HVAC, your existing system may need to be upgraded. Confirm this before finalizing your design.
Electrical capacity: If you're adding significant electrical load, your electrical panel may need to be upgraded.
Utility conflicts: Utility lines may run under or near your proposed sunroom. Call 811 (Dig Safe) before any excavation to locate underground utilities.
Questions to Ask Your Contractor About Permits and Approvals
- Have you obtained zoning verification that this project complies with setback, coverage, and height limits?
- Will you handle all permit applications and inspections?
- What inspections are required, and how long does each typically take?
- If the building department requests revisions, who pays for redesign and resubmission?
- What happens if the permit is denied?
- Do you have experience with HOA approvals in this neighborhood?
- What is the total permit and inspection timeline, and what factors could extend it?
Permits and approvals add time and cost to your project, but they protect your investment and ensure your sunroom is built to code and will function safely for decades.
Repurposing Your Existing Deck or Porch
Many homeowners already have a deck or porch they want to convert into a sunroom. Repurposing an existing structure costs less than building from scratch because the foundation and framing may already be in place.
The key is structural assessment. Your contractor needs to evaluate whether the existing deck can support an enclosed structure. A deck built for open-air use may need reinforcement to handle the weight of a roof system, windows, and additional load. If the deck is old or unstable, repairs may be necessary before enclosure.
Repurposing also means working with the existing dimensions and layout. The advantage is clear: you're not starting from zero. An existing deck gives you a head start on the project, reduces foundation work, and often costs significantly less than a new addition.
The difference between a sunroom that works and one that doesn't comes down to planning, design, and contractor quality. Milton Sunrooms has proudly served homeowners across Metro Atlanta and the surrounding counties: Fulton, Bartow, Cobb, Gwinnett, Forsyth, Cherokee, and DeKalb since 2008, specializing in the custom design and construction of sunrooms, porches, and patio enclosures.
Frequently Asked Questions
How much does custom sunroom installation typically cost?
Custom sunroom installation costs depend on size, design complexity, materials, and whether you're upgrading an existing deck or building new. Pricing varies significantly based on your specific project scope. Contact Milton Sunrooms for a detailed estimate tailored to your home and preferences.
How long does a sunroom installation take from start to finish?
Most sunroom installation projects take 6-10 weeks, depending on design complexity, permit approval timelines, and site conditions. Your contractor should provide a detailed timeline during the planning phase. Weather, permit delays, and structural work on existing decks can extend the schedule.
What questions should I ask a sunroom contractor before hiring?
Ask about their experience with similar projects, references from past clients, licensing and insurance details, warranty coverage, how they handle permits, and what happens if issues arise after completion. Request a written contract that specifies materials, timeline, and payment terms. Verify their track record in your area.
Can a sunroom contractor build on my existing deck, or do I need to tear it down?
Many contractors can repurpose existing decks, but the deck must be structurally sound and meet current building codes. A site assessment will determine whether reinforcement is needed or if the deck must be rebuilt. An experienced contractor will evaluate your deck's condition and recommend the most cost-effective solution.